
“Gosh d**m it,” you scream as you just lost to what looked like the biggest trout you have ever seen (or so you think). Losing fish is just one of those things that is too common out on the water. Unfortunately, it’s part of fly fishing, you win some and lose some battles. Whether you messed up the hook set, or the fish broke you off or all of a sudden the fish just came unbuttoned. No matter what losing a fish you put so much effort into landing is no fun. So what are some methods to improve your chances of landing each fish you encounter? Below is a simple 10 step checklist to improve your chances of landing more fish out there on the water.
Step 1: Rigging Preparation:
Without a doubt, this is the most important step to landing fish. You always need to rig for success. This step could have multiple blogs on its own so we will just leave it at this. You should always rig properly for each fishing scenario tailored to the exact river, fly, and fish that you are targetting. If your knots are not tied correctly or you are using too light of tippet, it can result in a lost fish. For a basic reference guide for proper rigging check out this blog from VVA contributor Seth Kulas, Rigging Tips for Beginners.

Step 2: Assess the Water you are Fishing
Alright, now you are rigged up and have found some great looking water to fish. As you start fishing, take a second to not necessarily think about where you might hook a fish but instead where you might land a fish. Because if in fact, if you hook a trophy trout, you will need to be strategic in how you play the fish to keep it in control. So look for larger eddies, pools, or slower seams where you can land the fish. Also, look above and below to see if there are any rapids near and at all costs look to avoid the fish from running into these trouble areas. Assess the area for any log jams or other structures that could result in an easy getaway for the trout.

Step 3: Proper Hook Set Technique
Properly setting the hook on a fish is one of the steps to effectively landing a fish for pretty obvious reasons. A poor hook set will typically mean the fish coming off very quick or it might mean not even hooking the fish because that fish has already spit out the fly. So what makes a good hook set? Well, it all depends on the scenario you are fishing in. But in short, the hook set should be a short affirmative action of lifting the rod tip or stripping the line in to draw the line tight, which as a result will inject the hook into the trout. Ask yourself the following questions in regards to knowing how to properly set the hook.
What method of fly fishing are you doing, nymphing, streamer fishing, or dry fly fishing? Typically nymphing and streamer fishing the hookset needs to be fast and hard, with dry fly fishing you can’t be too fast as you have to let the fish eat the fly.
What size tippet are you using? With heavier tippets you can strike harder, harder is typically better.
Do you have slack line out on the water? If you have a bunch of slack on the water, typically a fast strike is needed to set the hook.
Step 4: Get the Line to your Reel
So now that you have hooked a fish, the fish is on and you are ready for the battle. Most often fish are hooked and you will still have slack line in your stripping finger, with smaller fish it can be easy to control a fish by stripping it in through your stripping finger. But, a bigger fish can be more unpredictable and can make strong runs out of nowhere. This sometimes results in a break off if you are controlling the fish with your stripping finger.
So after the first big run try to gain control of the fish by reeling in your slackline so that you now have control of the fish on your reel. This way your reel and drag can control the fish, resulting in more control for the angler.
Step 5: Proper Reel Drag Setting
This step goes hand in hand with rigging preparation, meaning you should always set your drag to a proper setting prior to fishing. But, each fish and fishing hookup scenario is different. When you do hook a large fish, set the drag a little tighter that way you can put the heat on this fish to keep the fish in control. But always do take into consideration the strength of the tippet you are using when setting your drag. When you have the proper drag setting the reel will do some of the work for you making it easier to land the fish. The bottom line is whenever you are fishing be aware of your drag setting and how to adjust it, landing a fish can depend on it.

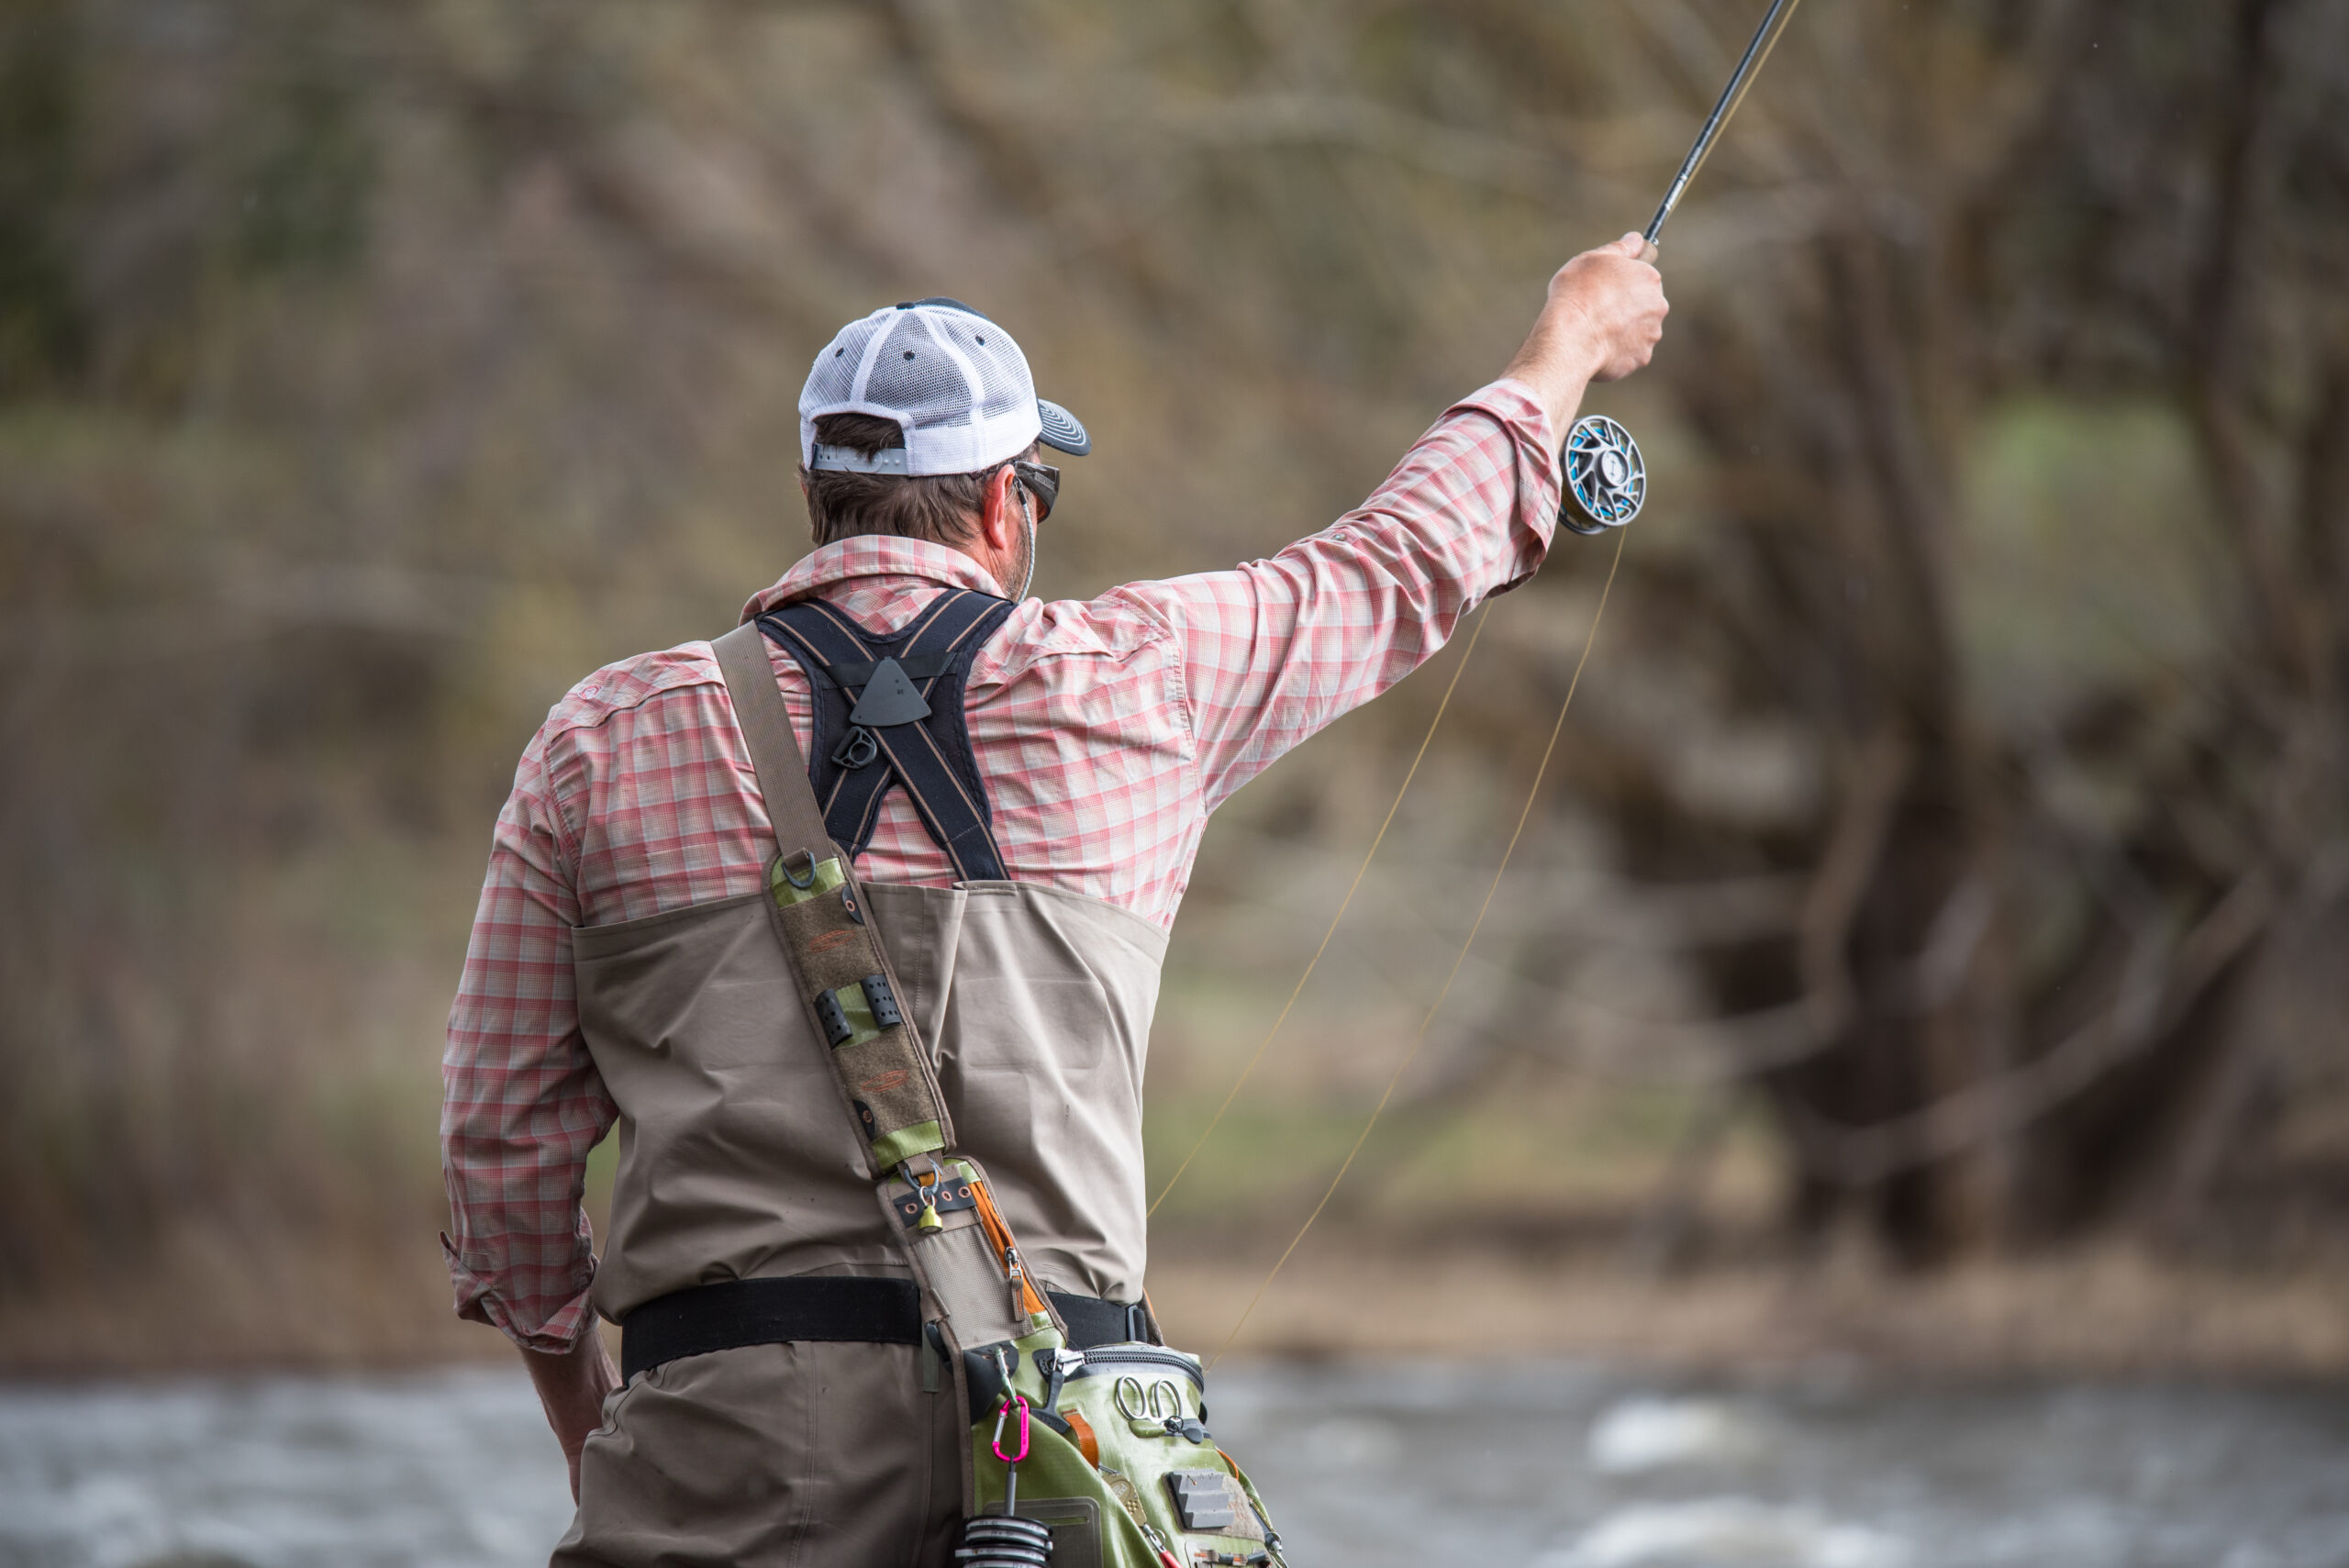
Step 6: It’s All About Rod Angles (Keep that rod tip up!)
So now you have a fish on the line, the trout begins it’s violent head shakes as it thrashes back and forth trying to wriggle free. By keeping your tip high during these movements the rod acts as a buffer, cushioning the tippet against the movements. If you have your rod tip low and the fish shakes its head, the fish will often be able to wriggle free as there is not the flex in the rod to cushion or absorb the head shake.
By keeping your rod tip high when there are obstacles like rocks, trees or other dangers, the line is less likely going to get snagged by these obstacles. By having the rod tip up, you have an over-head straight line connection to control the fish. When your rod tip is up each pressure point that your line has with each rod guide adds some friction to the fight. So keep that tip up and your fly rod will do its part in tiring the fish out.
To much pressure can break a fish off, but too little the fish will wriggle free. Generally speaking, keeping your rod at a 45-degree angle is a good rule to abide by.
Step 7: Use the River to Your Advantage (Slow Water is Your Friend)
So back to Step 2 when you assessed the water that you are fishing, you should have a good idea of where and where not you want your fish to go. So if in fact, you have hooked that trophy fish, put some power to that fish to keep it where you want. Where do you want your fish?
You want to fight your fish in deeper pools with slow to medium current. The deep pools mean the fish will tire themselves out by swimming down deep against the current until in fact, you can begin to move that fish to a landing position. If you see small pockets of slow water behind rocks these can be good spots to lead your fish in order to gain on them. At all costs avoid any sort of logs, sticks, manmade obstacles, and faster water whether it’s below you or above you. Assess an area for landing, if you have a shallower side of a deep pool this can be a great place to land a fish.

Step 8: Take the Fight on Foot (Move Around)
One aspect of fighting a fish that I believe is very underrated and highly effective is to move around when you are fighting a fish. For example, say you hook a trophy trout and it runs downstream and you just stand there as it peels off line and then eventually wriggles off because you were too far upstream. If you would have moved downstream with that fish you would be able to keep a closer connection with that fish and hopefully would be able to land it.
Take the fight on the foot right as you hook a fish begin to move around to stay closer so you can keep control of the fish. Especially, if the fish makes a run downstream the added power of the downstream current only poses a challenge to the fish coming off.
When you are float fishing you can see the direct benefits of using the boat to fight the fish. You can gain on the fish and strategically tire the fish out. But sometimes when the rower is a beginner some fish will be lost due to poor rowing or if you hook a fish around fast water it can be hard to keep the boat slow enough to stay with that fish.

Step 9: Landing the Fish
Now that you have all the secrets from hooking to fighting the fish, now comes the moment of truth…the landing of the fish. This can be a moment when your friend gloriously scoops the trophy out of thin air as you take a gasp of relief. Or your buddy knicks the line with the net as he misses the fish and your trophy fish is swimming down the river while you’re glaring down at your buddy. Who explains, “I tried my best, I owe you one.” It’s all happened to us, while it may seem like the easiest part of the whole battle it is the moment of highest pressure. So what are some tips to landing the fish?
The first is to always use a net, preferably a rubber net bag the bigger and the longer the handle the better. For every day wading, I recommend the Fishpond Mid-Length Net, priced at $159.95. For float fishing, I recommend the Fishpond Nomad El Jefe Grande Net, priced at $219.95
The second tip is to always scoop the fish headfirst, this way you have control to lead the fish headfirst into the net. Often if you try to scoop tail first the fish will swim forward out of the net.
The third tip is to communicate with your net buddy. By discussing a plan of action or stating that this fish is ready the net person can be prepared to net the fish.
The fourth tip is to have confidence and stealth. When you see the opportunity to land the fish step forward and fully commit to landing the fish.

Step 10: Handling and Releasing the Fish
This list wouldn’t be complete without mentioning the part where you properly handle and release the fish. Now that you have the fish in the net, use your hemostats to remove the hook. I will often raise the fish’s head up by putting my hands underneath the net basket and then take a pair of hemostats and remove the hook and let the fish swim free. And remember #keepemwet as much as possible.
Hopefully, this step by step list will prepare and arm you with some appropriate knowledge to effectively land more trout out there on the rivers. Also, stay tuned for Part II as I go over the various rigging methods and tools that can improve your chances to land more fish.
Patrick Perry, Content Contributor, and Former Guide, @patperry


