
With below freezing temperatures and short days across Colorado for the next few months, there is no better time to start fly tying than now. Fly tying is the process of creating the flies that we use to catch fish. It complements fly fishing and can be a great hobby to go along with the sport. You will learn more about fly fishing by tying flies. While fly tying is not for everyone, it is something that every angler should at least try once.
I like to compare fly tying with cooking. For example, say you are planning to make a nice meal at your house, you may find a recipe or some inspiration online. Then most likely you may have to make a quick stop at the grocery store to pick up a few ingredients for the recipe. Similarly, with fly tying, you will find some sort of recipe of a specific fly pattern that your want to tie, head to the fly shop to pick up the ingredients in the recipe, head home, and follow the recipe to make your creation. Or maybe you don’t have time to tie up flies and you just want to stop at the local fly shop and buy them. This would be the same if say you didn’t have time to cook and wanted to pick something up at a restaurant. A lot of similarities between cooking and fly tying.
Just like cooking, fly tying is an art, it can be individualistic. Fly tyers and cooks have different styles based on what they have learned and what they prefer. There is no right or wrong way to tie flies, while there are some basic skills and tools needed to properly tie a fly. Below you will find the basic tools needed to start your fly tying journey, as well as five patterns to tie.
Fly Tying Basic Tools and Equipment
What do you really need to get started with fly tying?
Fly Tying Vise:
A fly tying vise is the foundation and most important tool of fly tying. A fly tying vise holds the hook in place as you tie materials around the hook. There are numerous different fly tying vises on the market, ranging in price from $50.00-$1000.00. Like most tools, it is smart to invest in a decent vise that you can grow into. The cheaper vises are great for starters but it can be more challenging to control the materials when tying flies and the hook clamp can break or not hold the hook securely in place at times.

Recommended Fly Tying Vises: The Peak Fishing Non-Rotary Pedestal Vise is great low-budget vise priced at $99.95 that many of our guides use. The company is also based here in Colorado. If you wanted a rotary vise the Griffin Montana Mongoose Fly Tying Vise is a great option, priced at $238.00.

When purchasing a vise, you will need to decide on a C-Clamp or Pedestal Base Vice. A C-Clamp style vise, clamps onto the side of a table, these are preferred for fly tyers that will be traveling with their vise to tie, as it is much lighter and easy to pack. The Pedestal Base style vise has a heavy base to hold the vise in place on your table, this is preferred for most fly tyers, as their tying desk will stay in one place and it can provide a little more stability. Another element to consider is a rotary or stationary vise, the rotary allows you to rotate the vise head which can come in handy when tying as you can more effectively wrap materials this way. Most tyers will use the rotary vise due to this feature, but rotary vices do have a higher cost. For more information on Choosing Your First Fly Tying Vise, check out a previous blog here.
Scissors:
Fly tying scissors are the most used tool in your fly tying kit. Tying scissors will be used to trim, cut, and craft your flies. When starting out a basic pair of tying scissors can go a long way. Sort of like having a good sharp chef knife in the kitchen. The Dr. Slick Hair Scissors Straight is a great option for beginner fly tyers. As you progress as a fly tyer there are specialized scissors for specific tying techniques, but for starters, a solid pair of basic scissors is all that is needed.

Bobbins:
The bobbin is the tool that holds the fly tying thread in place as you wrap the fly tying thread around the hook to craft your fly. A decent bobbin is necessary to control the thread as you wrap the fly. The Loon Ergo Bobbin is preferred among many guides. A bobbin threader can also be useful when trying to get the thread through the bobbin, the threader easily pulls the thread through the small hole on the bobbin.

Whip Finisher:
A whip finisher is a tool needed to finish off tying a fly, the tool creates a knot with the thread around the fly to lock the thread in place so the fly will not unravel. It is an essential fly tying tool to complete fly patterns efficiently and effectively. The Dr. Slick Whip Finisher Rotary w/ Half Hitch Tool is a great Whip Finisher.

Bodkin:
The bodkin is a useful fly tying tool with many purposes from applying head cement to picking out dubbing. It is a simple sharp point tool. I prefer having two Bodkins one for head cement (as it can get messy) and one for all the other needs of using the sharp point. The Brass Dr. Slick Bodkin is a good choice.

Hackle Pliers:
A hackle or feather is a common material used when tying flies. A pair of hackle pliers will effectively clamp down on the feather so the material can be tied around the fly. It can be challenging to grab the different sized feathers with your fingers, so a good pair of hackle pliers will go a long way. The Umpqua Tiempco Ring Hackle Pliers is a good option.

Head Cement:
Head cement is essential to every fly tyers kit, the head cement is used upon completion of the fly to lock the thread in place. This prevents the fly from unraveling when you are fishing it. Simply apply a small amount of head cement on the fly where you finished your thread and wait for it to dry. The Umpqua Flexament is standard head cement, you can also use Zap-a-Gap superglue if you have any of this on hand.

Other Fly Tying Tools:
Some other fly tying tools and equipment that you will want to purchase as you progress as a fly tyer would be a hair stacker or hackle stacker, dubbing twister, dubbing comb, tying tweezers for small hooks, a UV glue kit, a variety of different scissors, and multiple bobbins. One secret to effectively tying flies is to have good light, a tying light or simple UV desk light can be very useful when tying flies.
Fly Tying Kits:
Another way to get started with fly tying is to purchase a complete kit like the one below. The kit has everything to get started, however, it contains lower budget tools that you would probably want to upgrade as you progress as a fly tyer. But, it can be a great way to get started.

5 Fly Patterns to Start With (Plus Ingredients Needed for each):
Now that you have the basic tools needed to begin your fly tying journey, next comes the fun part tying the flies. Before tying the flies you will need to gather the materials needed to tie these flies. Below you will find 5 beginner fly tying patterns and the materials need to tie these flies. These patterns are tried and true, you can stock up on them as they can be fished universally throughout the year.
Zebra Midge:
This fly needs no introduction, if there was one fly to fish all year long this might be it. The small nymph represents a midge, which can be found in almost all river systems. You can tie these patterns in a variety of different colors and sizes using different beads, thread, and wire. It is a fast and easy fly to tie, that can provide you with some basic fundamentals skills of tying a fly.
Video Courtesy of Tim Flagler of Tight Lines Productions, check out his other tying videos here.
Materials Needed:
Hook: Tiempo/Umpqua 2488,sizes 16-22.
Bead: Silver, 1/16 (or try some different colors as well, tungsten is preferred for more weight).
Thread: Black, 70 denier or 8/0.
Body: Silver Ultra Wire, small.
Squirmy Worm:
The Squirmy Worm is the new version of the classic San Juan Worm fly pattern. While fishing with an artificial worm may not be for the pursuits of fly fishing, the fly catches fish. It should be in every angler’s arsenal of patterns. It is very effective in higher water scenarios and dirty water, typically around spring when runoff will raise water levels. There are very many different variations of the squirmy worm, so be creative add a bead, or use a different color squirmy material like pink or purple. The squirmy material can be a little tough to work with at first so be patient and be sure to not use too much head cement as it can melt the material.
Video Courtesy of Tim Flagler of Tight Lines Productions, check out his other tying videos here.
Materials Needed:
Hook: Size 12-14 Scud Hook.
Bead: Not necessary but can be added, ⅛ ounce tungsten bead.
Thread: Red, 6/0, or 140 Denier.
Underbody: Red Superfine Dubbing.
Body: Hareline Dubbin Caster’s Squirmito Original Squiggly Worm Material.
Wooly Bugger:
The wooly bugger is the universal streamer pattern. This pattern is the base pattern of all streamers. You should learn how to tie the bugger before progressing into some of the new age streamers patterns. The wooly bugger can be tied in a variety of different colors and sizes, there is no correct recipe. It is a universal pattern that can be fished in every body of water for pretty much every species of fish, as it imitates a small baitfish. Be sure to check out the previous blog Stepping Up Your Streamer Game, for a more detailed introduction into streamer fishing.
Video Courtesy of Tim Flagler of Tight Lines Productions, check out his other tying videos here.
Materials Needed:
Hook: 4X-long streamer hook, sizes 2-10.
Bead: Gold, 5/32.
Thread: Light olive, 6/0 or 140 denier.
Wire: .020-inch lead-free wire.
Tail: Olive marabou.
Flash: A couple of strands of Krystal Flash.
Body: Olive Ultra Chenille.
Hackle: Olive grizzly hackle (Whiting Farms Bugger Pack).
Frenchie:
The Frenchie fly pattern is the new age version of the pheasant tail pattern, it features a heavy bead, some underwire, and a slim profile which all results in the fly getting down fast in the water column. It can be tied in a variety of different ways with different color beads, threads, and hot spots. The Frenchie is a trusted fly pattern that can be used most of the year. It can be an easy fly to tie once you get the hang of it.
Video Courtesy of Tim Flagler of Tight Lines Productions, check out his other tying videos here.
Materials Needed:
Hook: Standard nymph hook, sizes 12-20.
Bead: Tungsten Bead, 7/64-inch.
Thread: Fluorescent pink, 70 denier or 8/0.
Body: Pheasant tail fibers
Dubbing: UV Pink Ice Dub.
Hot Spot: Fluorescent pink, 70 denier or 8/0.
Wire: Gold Ultra Wire, brassie or small-sized wire. And .015 Lead-Free Round Wire.
Tail: Coq de Leon fibers.
Waltz Worm or Sexy Waltz:
The Waltz Worm or Sexy Waltz is another competition-style nymph pattern that resonates with some of the looks of the classic hare’s ear pattern. It can effectively imitate a variety of different bugs, including different sized cased caddis. The pattern is relatively easy to tie and can be tied in a variety of different colors and sizes. The pink bead can be a deadly combo in the winter months on the Eagle and Colorado Rivers.
Video Courtesy of Tim Flagler of Tight Lines Productions, check out his other tying videos here.
Materials Needed:
Hook: Umpqua Competition Hook C450BL Jig – Sizes 14-16
Bead: MFC Tungsten Jig Bead – 2.7 mm
Thread: Danville’s Thread 70 Denier Waxed Thread, 6/0.
Dubbing: Hareline Dubbin – Hares Ice Dub
Body: Veevus Pearl Tinsel – Small
Hopefully, the beginners fly tying guide outlined above can jumpstart your fly tying journey. The tools and materials outlined above can be purchased on our online shop or in our retail store where someone from the shop staff can assist you in purchasing the correct fly tying tools and materials. The five fly tying patterns above and their material lists are general guidelines, the materials can be altered like specific hooks, bead colors, and size, etc. There is no right or wrong way to ties flies, so sit back and get those creative juices flowing. If you are interested in professional fly tying instruction, Vail Valley Anglers offers a variety of fly tying courses throughout the year.
Patrick Perry, Former Guide, and Content Contributor, @patperry.
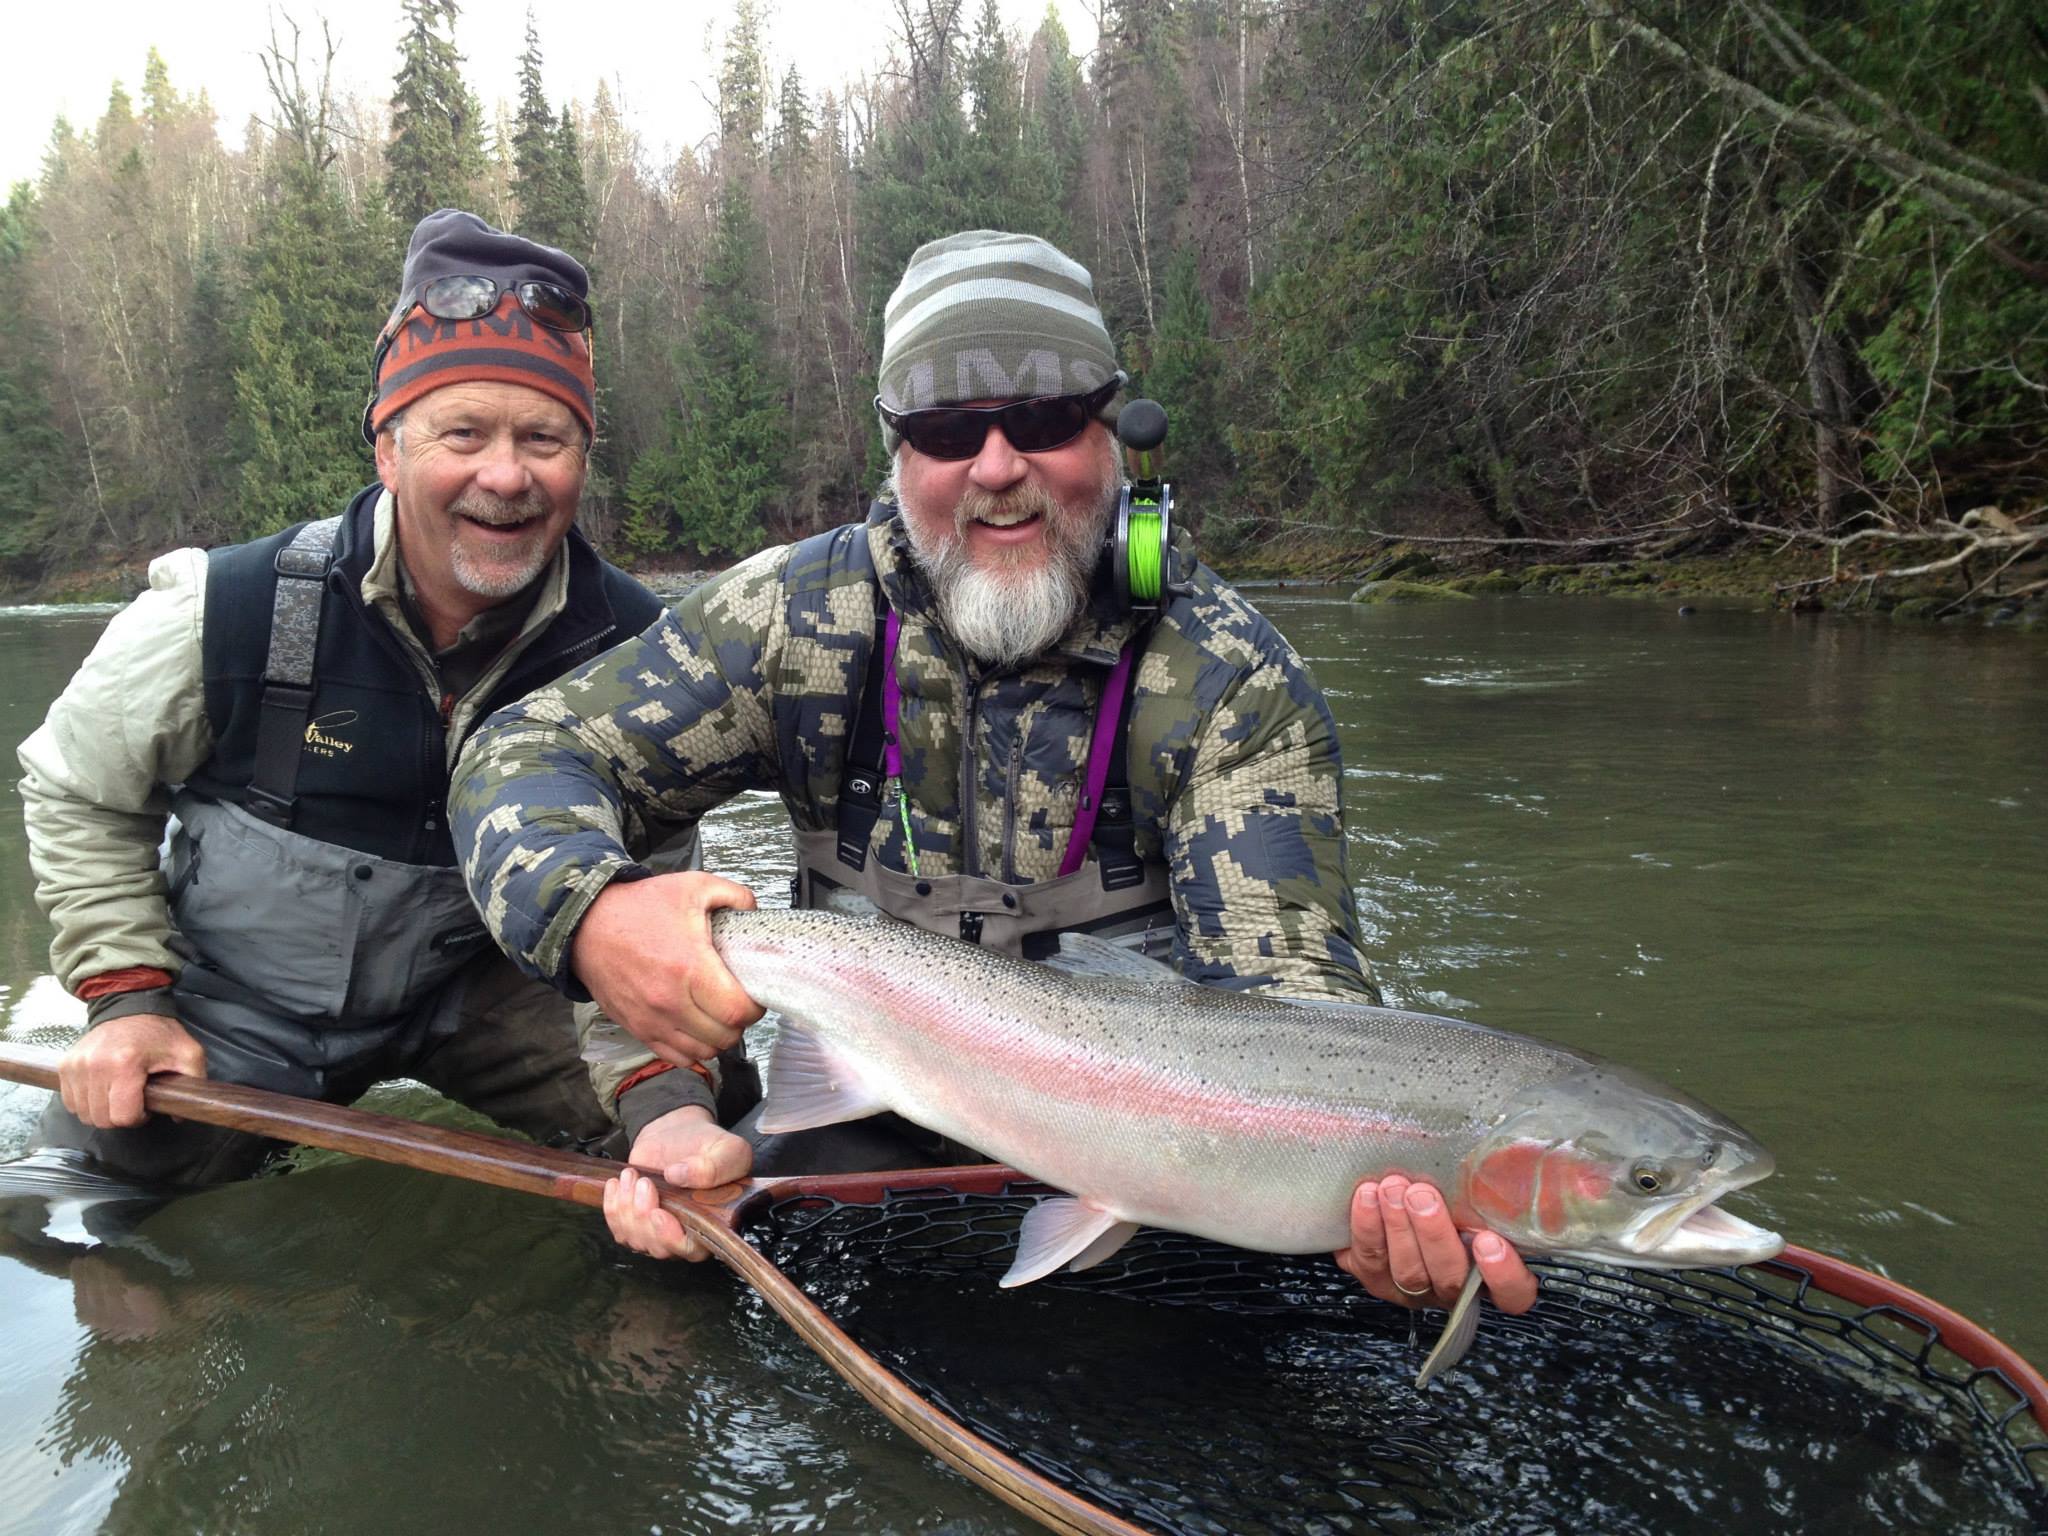
Feature photo from VVA Ambassador Jason Paez.


