
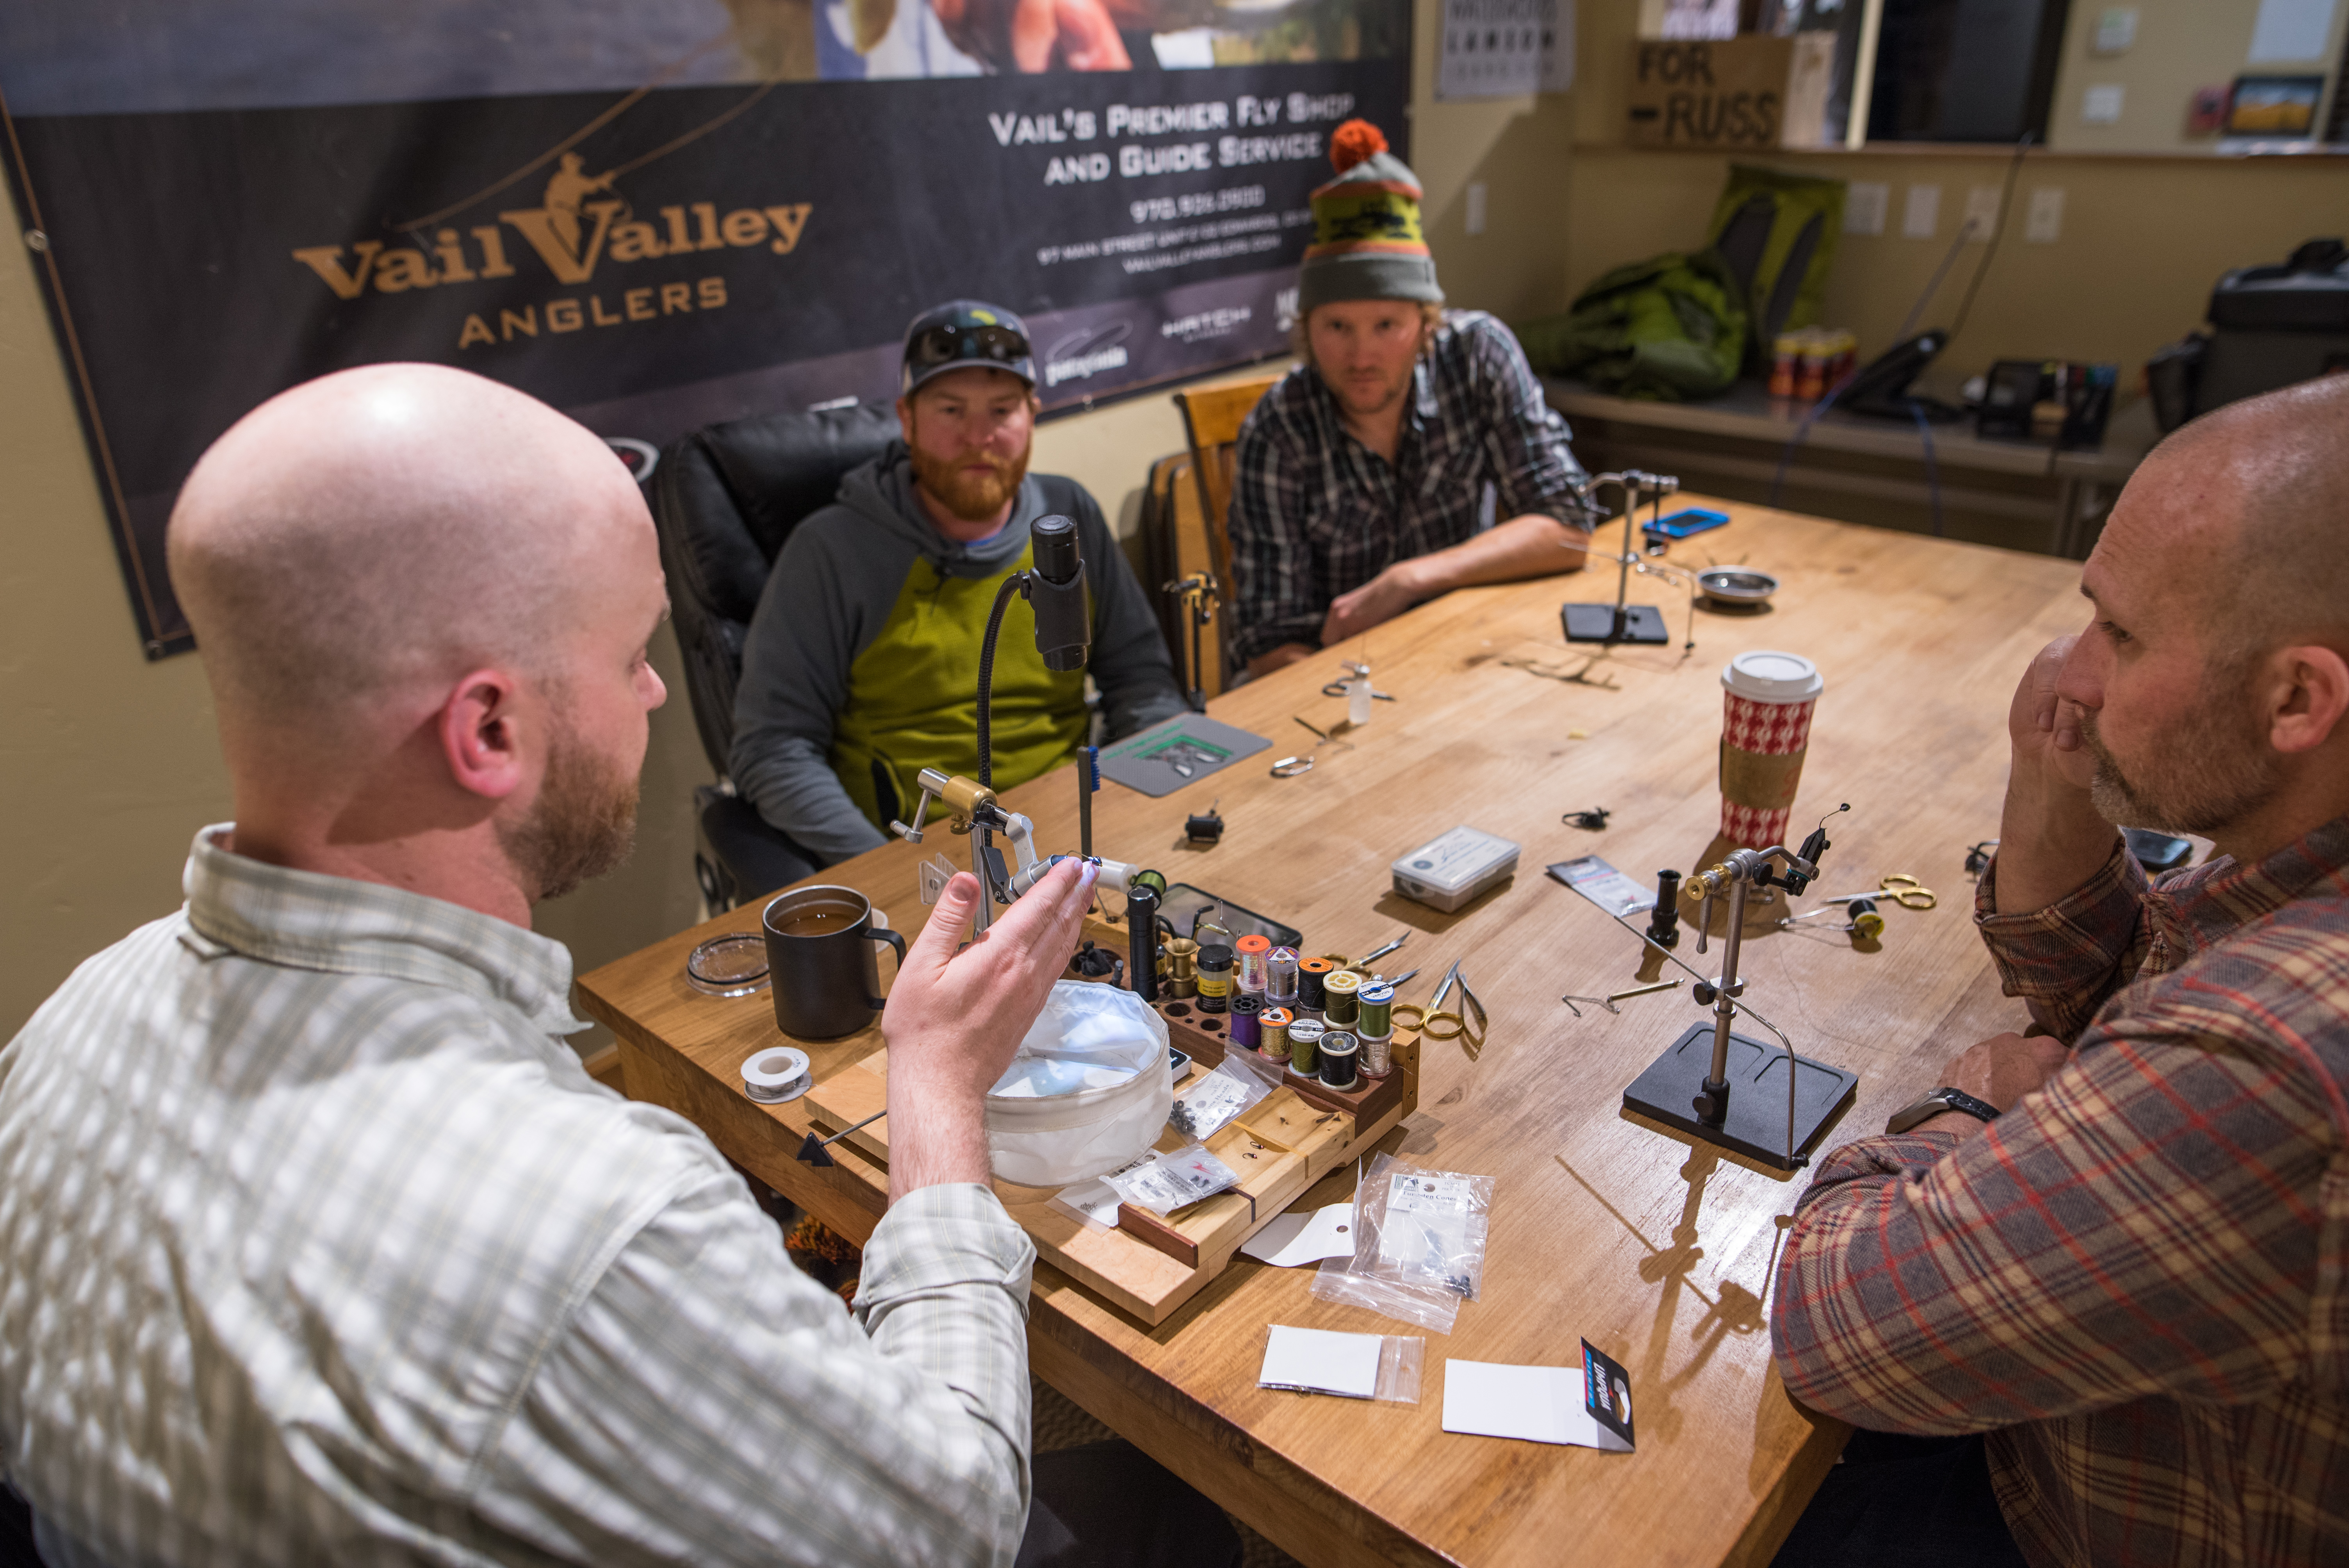
As the daylight hours shorten and the winter season approaches, many anglers will be sentenced
to days and days indoors avoiding the cold, wind and sometimes sluggish trout. Although we
are fortunate enough here in the Vail Valley to enjoy year round trout fishing, fly fishermen and
guides tend to spend less time on the water and more time inside, wishing they were fishing.
One of my favorite ways to beat the “cabin fever” that comes along with winter is to tie flies in order
to restock my boxes and prepare for next summer.
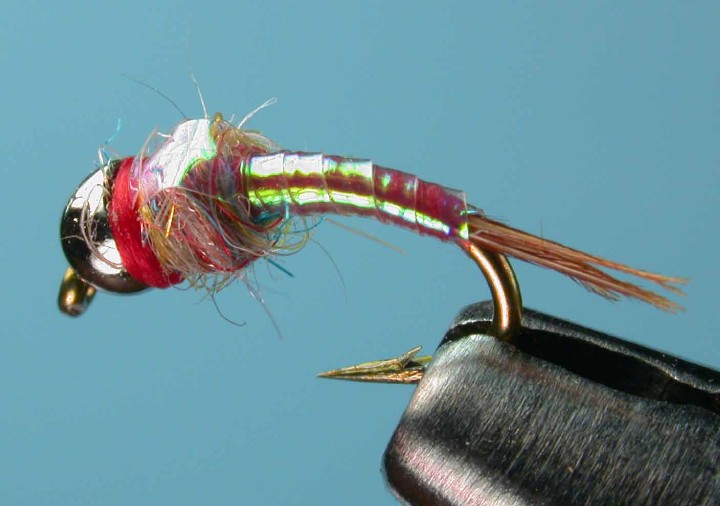
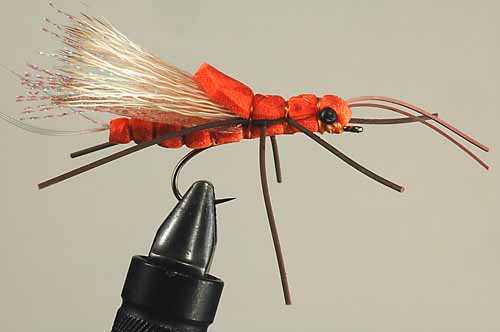
Fly Tying Patterns
Tying flies is a great way to learn about insect life and to get creative with various patterns.
Good tiers always have a few custom tied “secret recipes” that can give them an edge when the fishing is tough. Most of the time these are simple additions to common patters that add some
authenticity, flash or movement to trigger a feeding response from selective trout. Catching a trophy
trout on a home tied fly is one of the most rewarding experiences for any angler, and surely sits
atop the pinnacle of the angling journey.
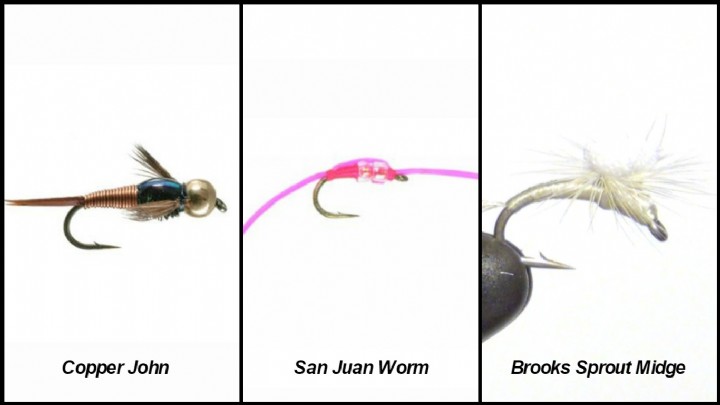
I have to admit that I am not an expert fly tier. I focus mainly on patterns that I use frequently,
yet are easy and inexpensive to tie in order to save money during the height of the guiding
season. These patterns include:
- the San Juan worm
- Pat’s Rubber Leg
- Crystal Flash Midge,
- RSII
- Elk Hair Caddis
Fly Tying for Beginners
Getting started may seem overwhelming even to experienced fly fishermen. Walking into a fly
tying section of a fly shop can seem a bit like learning a new language. It is best to start small
and work your way into it slowly. The first step is getting the basic tools and materials for your
first fly. I recommend beginning with the San Juan Worm because it is easy to tie and doesn’t
require a lot of materials. Stay tuned for a worm recipe.
Fly Tying Vice
The first and most important thing to buy is a vice. It is wise to get the best one you can afford,
as you will quickly reach the limits of a cheap vice. Get a good one now and you will have it for
many years to come. Good vices will offer adjustable jaws, cam locks, and either a pedestal or
clamp on base or both. Renzetti makes great vices.
Bobbins
Next, you will need a bobbin. Bobbins come in all shapes and sizes. I recommend using a 3 inch
ceramic bobbin. Getting a couple bobbins is helpful and they are not expensive.
Fly Tying Scissors
Scissors are also important. Like with anything, there are dozens of choices, but to start, a good
pair of all-purpose tying scissors will do. Remember, that they need to stay sharp so try to keep
them designated for fly tying only. Many of them have tiny serrations, making them impossible
to sharpen. Again having two pairs can be handy. One is for cutting material like thread while a
cheaper pair can be used for clipping wire or tinsel.
Other Tools
Other tools that will come in handy at first are a bobbin threader, a whip finisher, a bodkin, and
some head cement. Your tying arsenal will grow quickly and you will find tools that you prefer
to have on hand at all times.
Now that you have the tools to get started, you can begin thinking about materials and hooks.
This is where the fly tying process gets fun, and the creative juices can start to flow. In part 2 of
this blog I will cover materials and technique for tying the San Juan Worm.
Make sure to stop by our fly shop in the Vail, CO area for your fly tying supplies. If you’re not in the area, you can always check out our fly fishing gear online.
Andy “Otter” Smith, Guide and Content Writer


