
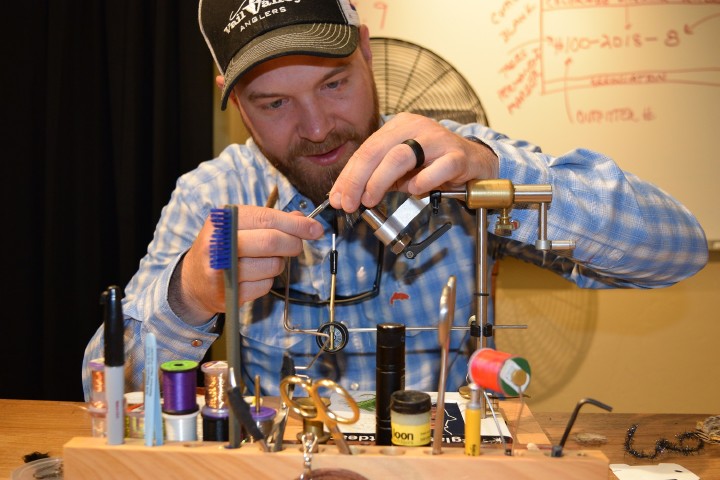
There are two ways to go about this. You can buy a wide variety of basic materials, and use them as you go, or you can buy only what you need for each specific pattern. Both approaches work, but I recommend the latter. This will help you stay focused on learning the simple techniques and actually producing flies you can use right away. In this blog I am going to talk about the materials and the process for tying the San Juan Worm.
The San Juan Worm Fly Tying Pattern
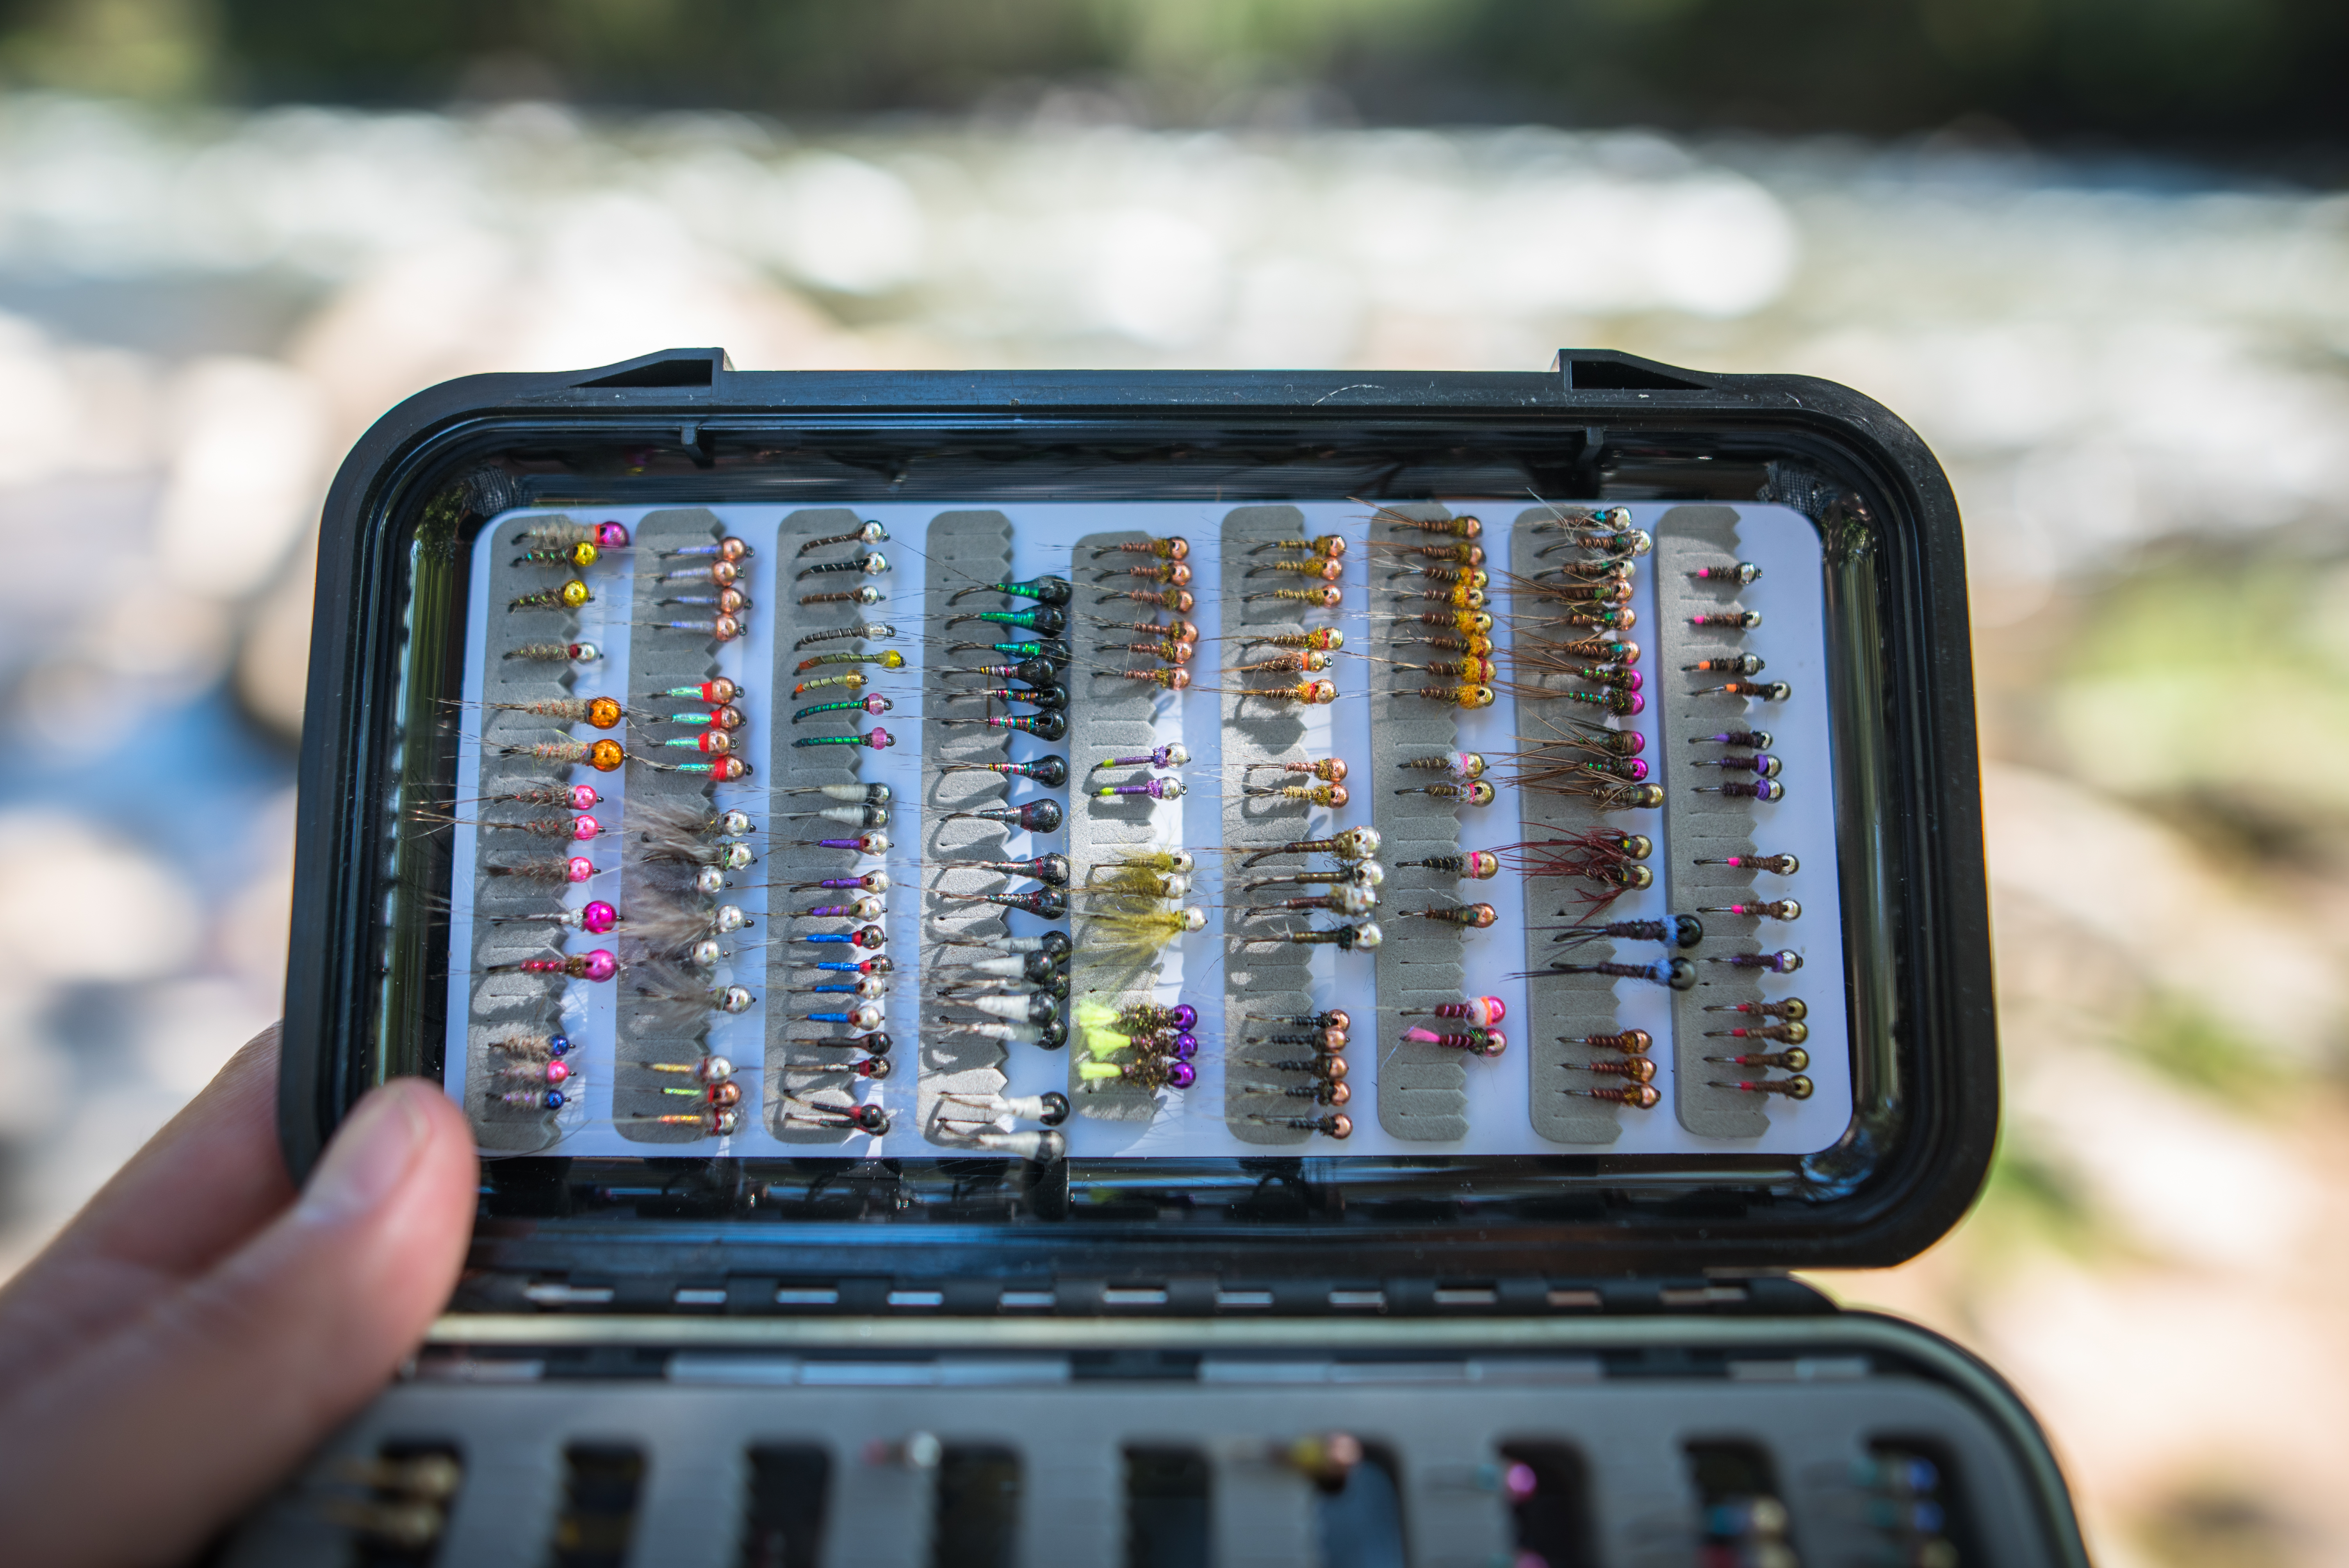
The San Juan Worm is a staple, and no fly box should be without it. Anglers and guides use it frequently as the lead fly or attractor, in many tandem nymph rigs, or as a dropper behind a large dry fly. Fish don’t always key in on the worm, but because of its size and color it can make a fish that is otherwise not engaged eat. It is also an important pattern when water color is an issue. I have had awesome success using the worm in water that is too muddy to fish small insects.
Ingredients
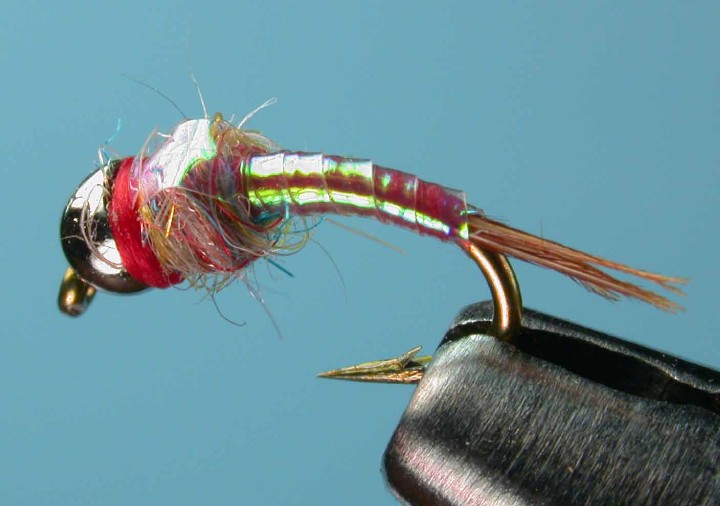
The things to have ready are hooks, ultra chenille, thread, a lighter, and the tools listed in part one. You can tie the worm on any size hook you want, but I think sizes 10 through 16 are the most effective. As for the chenille, I recommend getting a few different colors. Tan, red, pink, purple, and burgundy are my favorite. You will want the thread to match the chenille so whatever colors you pick try to get a spool of thread in the same one.
Steps
Place the hook in the vice with the eye pointing to the right if you are right handed. This allows your dominant hand to do most of the work. Wrap the thread around the shank of the hook at the eye and towards the gap in tight, touching turns over the tag end. Once you are about half way down, you can cut the waste off and continue all the way down the shank.
Next grab a 1 to 1.5 inch section of ultra chenille between your left thumb and forefinger. Pinch it against the hook at the end of your thread wraps and tightly wrap the thread around the section of chenille. Five or six tight wraps will secure the chenille to the hook.
Wrap the thread back up towards the eye of the hook until you are about half way between the gap and the eye. This is where you will attach the chenille to the hook once again in the same way as before. Now continue back to the eye of the hook and do the same thing one last time, making sure not to crowd the eye of the hook with thread or materials.
The best way to finish the fly is to use your new whip finishing tool. This tool will help you tie a smooth, tight knot that will keep the thread from unraveling. Learning the whip finish is maybe the most challenging part of the process for beginners but is critical to the tying process. This is best learned by watching someone else do it a few times.
Gently hold the lighter up to either end of the chenille for just a quick moment to give your worm the tapered look on the head and tail. Be careful here as too much heat will cause the chenille to catch fire and ruin your worm. Now use your bodkin to place a drop or two of head cement over your whip finish and you are done. Let it dry and go catch fish!
Make sure to stop by our fly shop in the Vail, CO area for your fly tying supplies. If you’re not in the area, you can always check out our fly fishing gear online.
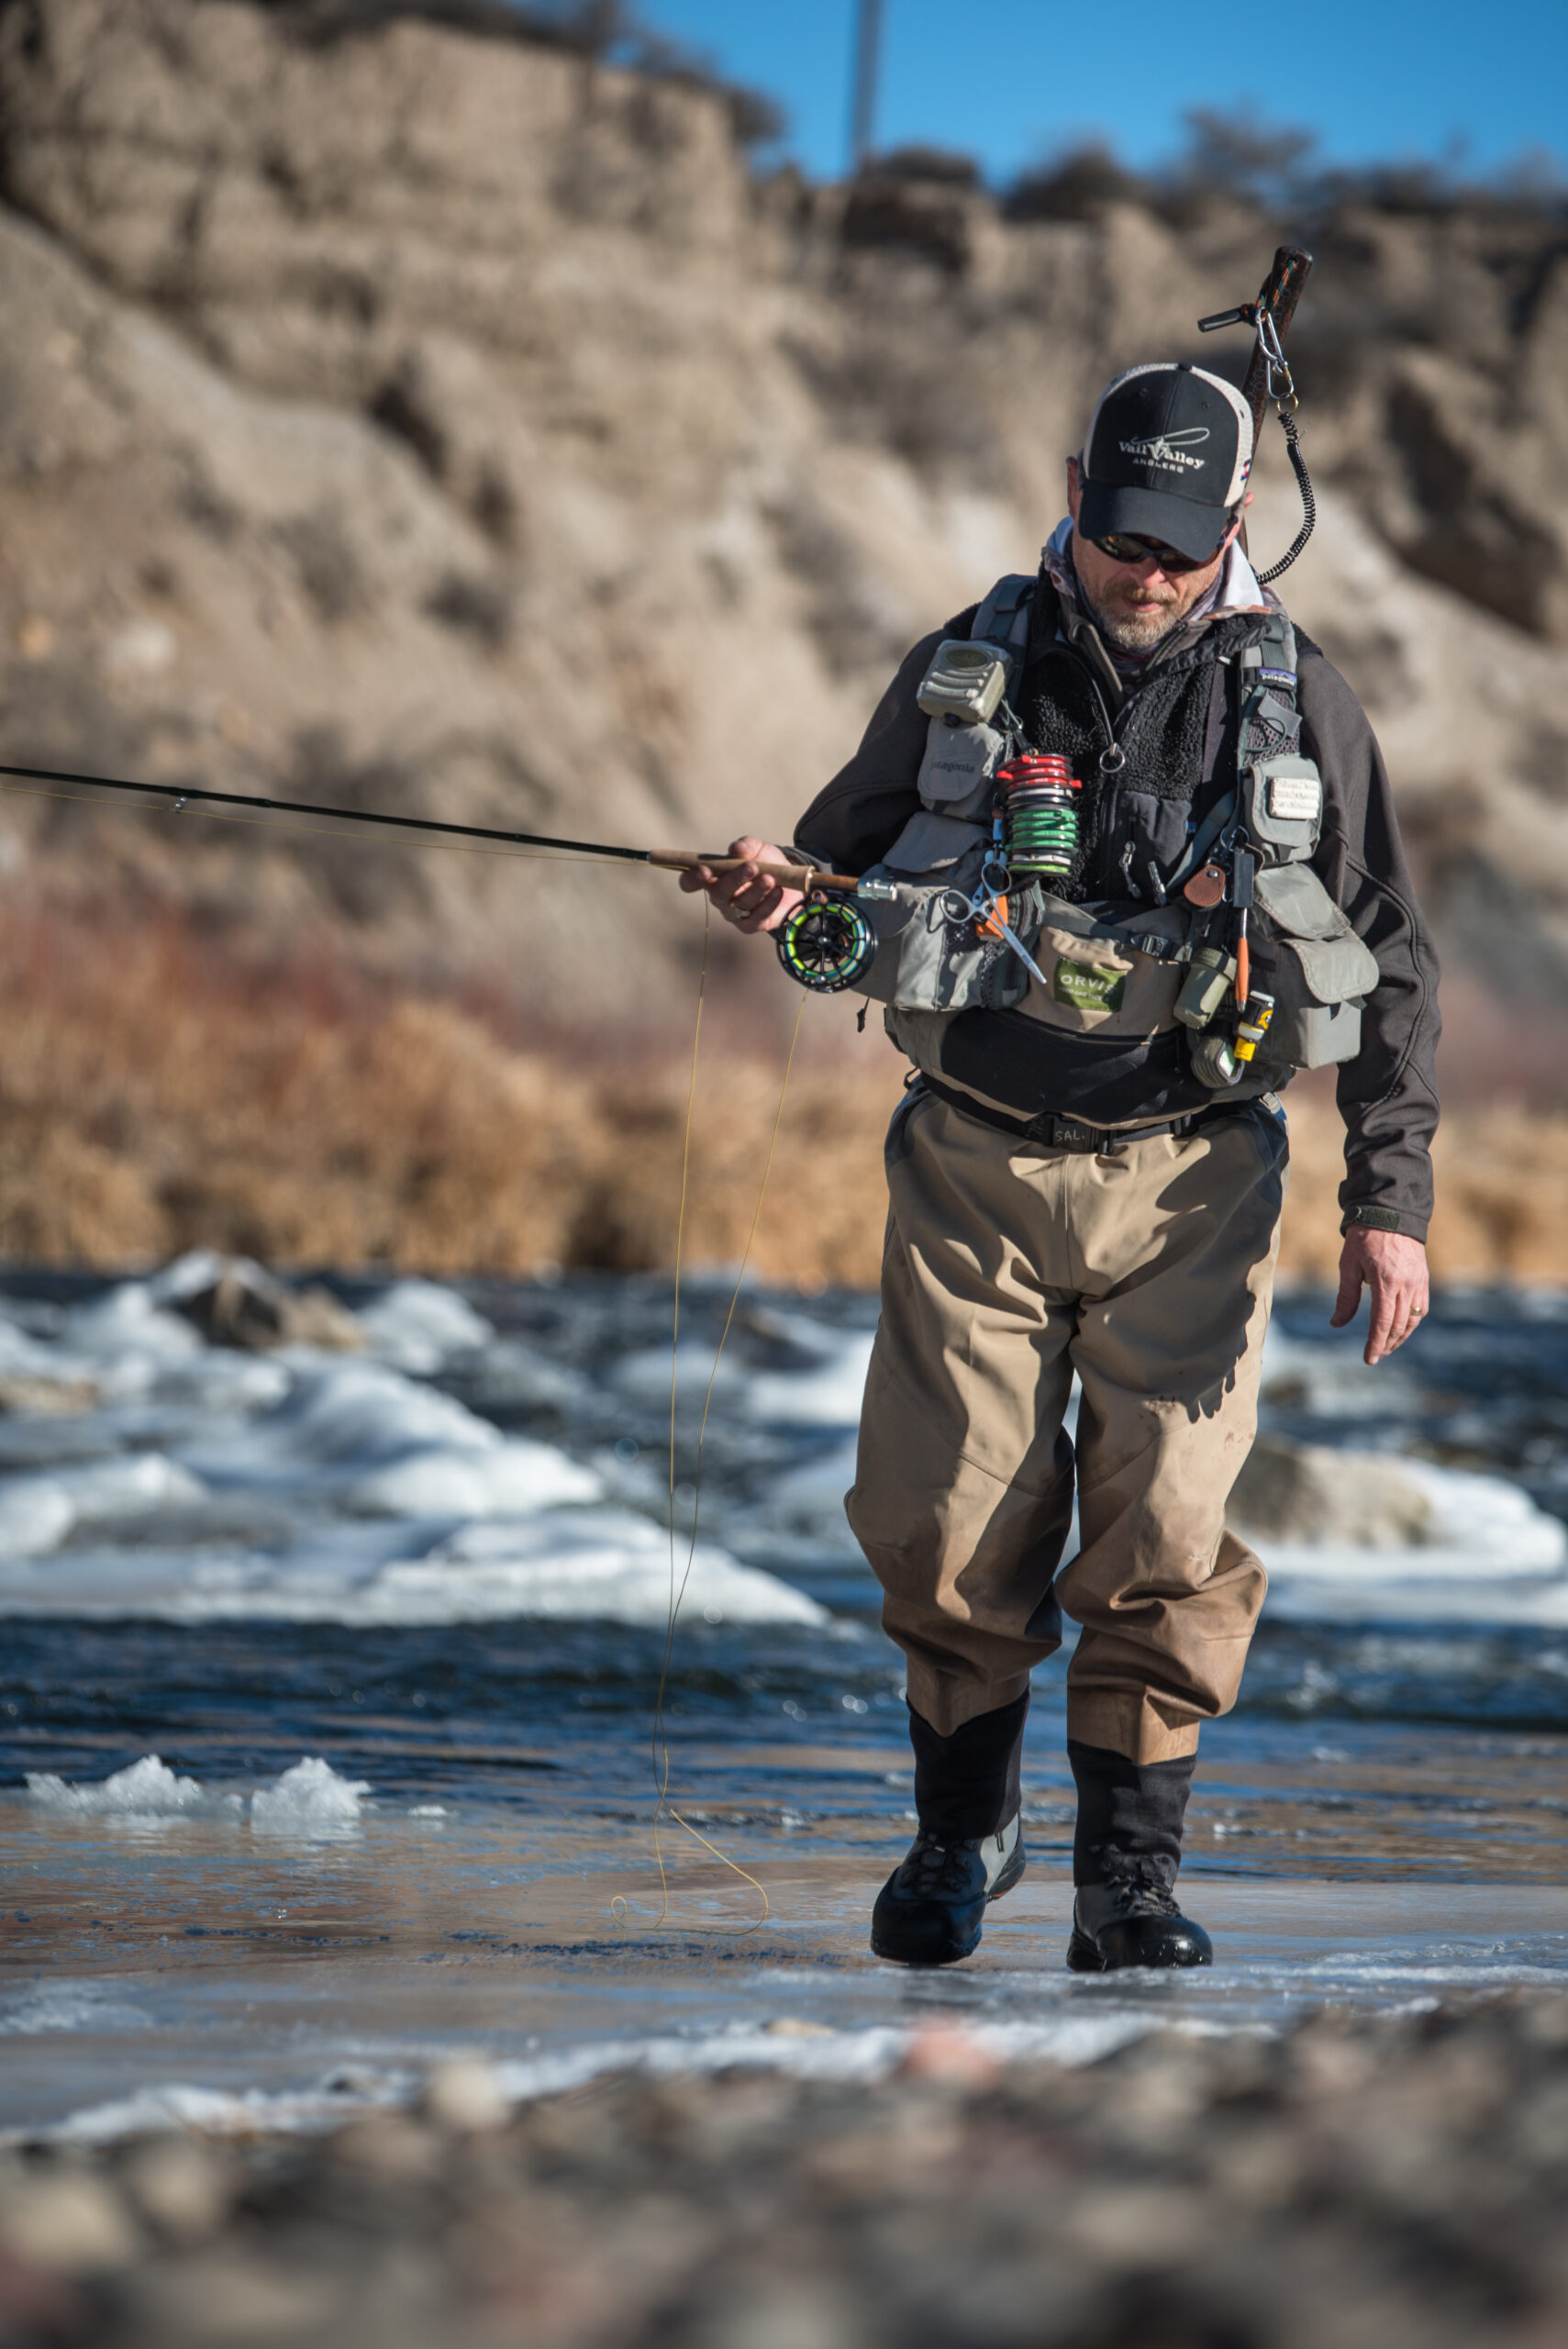
Andy “Otter” Smith, Guide and Content Writer


